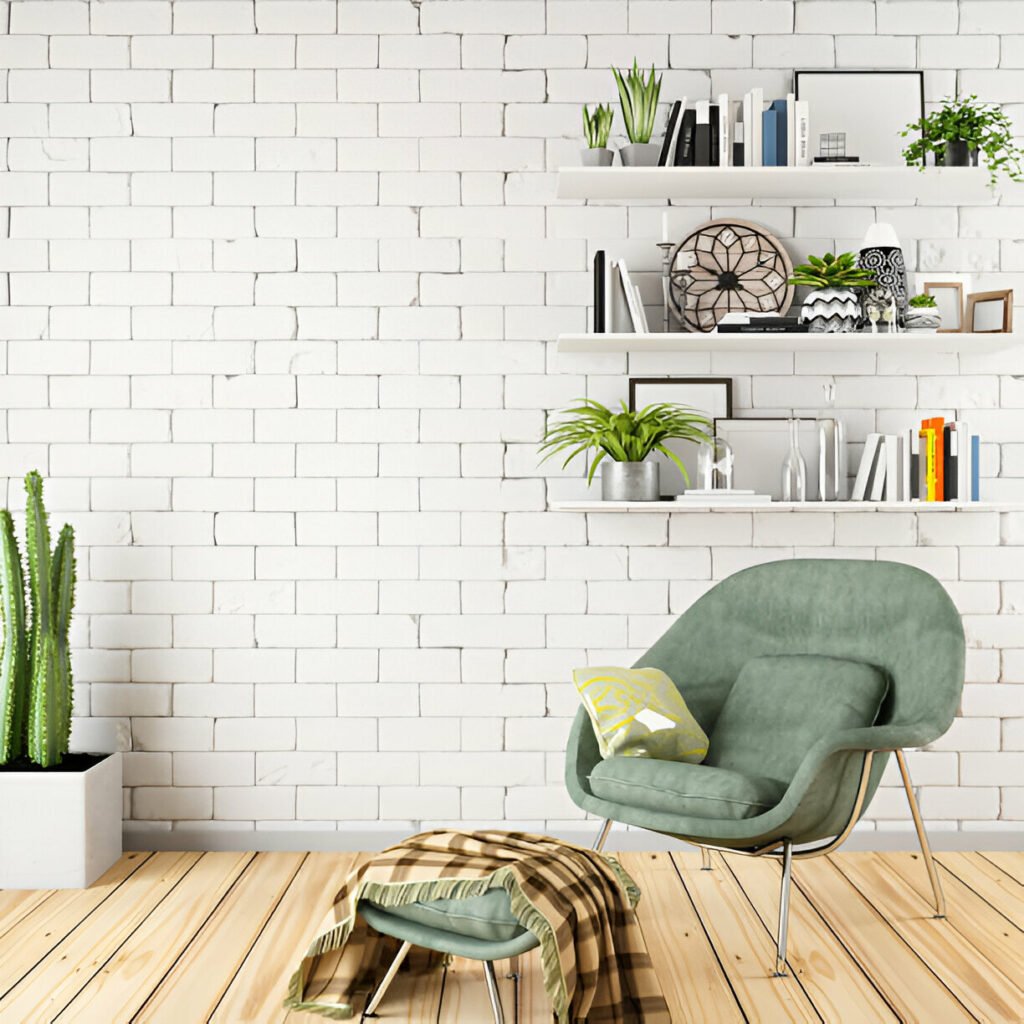
Transforming your bathroom into a glamorous and functional space doesn’t have to be expensive or complicated. One simple yet stylish project you can tackle is creating a DIY bathroom wall shelf. This guide will walk you through the process step-by-step, using materials that are easy to find and techniques that are beginner-friendly. Let’s get started!
Materials Needed
Before you start, gather all the materials you’ll need for this project:
- Wooden board (length and width as per your preference)
- Shelf brackets (2-3 depending on the size of your shelf)
- Screws and wall anchors
- Paint or wood stain
- Decorative accents (e.g., gold leaf, stencils, decals)
- Clear sealant
Tools Required
You’ll also need the following tools:
- Measuring tape
- Pencil
- Sandpaper
- Paintbrush or roller
- Drill and drill bits
- Screwdriver
- Level
- Stud finder
Step 1: Planning Your Shelf
The first step is to plan out your shelf. Measure the space where you want to install the shelf and decide on the dimensions. Consider the items you plan to store on the shelf to determine the depth and length.

Step 2: Preparing the Wood
Once you have your measurements, cut the wooden board to the desired size. Sand the edges and surfaces to smooth out any rough spots. This will ensure the paint or stain adheres properly and gives a polished look.
Step 3: Painting and Decorating
Now it’s time to glam up your shelf. Choose a home paint or wood stain that complements your bathroom decor. For a chic look, consider metallic paints or adding gold leaf accents. Apply the paint or stain evenly and let it dry completely. If you want to add stencils or decals, now is the time to do so. Finish with a clear sealant to protect your design.
Step 4: Assembling the Shelf
Attach the shelf brackets to the wooden board. Measure and mark the positions on the back of the board, ensuring they are evenly spaced and aligned. Use the drill to make pilot holes, then screw the brackets into place.
Step 5: Mounting the Shelf
Find the studs in your bathroom wall using a stud finder. Mark the positions where you will install the shelf brackets. Drill pilot holes into the wall at these marks, insert wall anchors if necessary, and then attach the brackets to the wall using screws fromhousetohome. Use a level to ensure the shelf is straight.
Step 6: Adding Finishing Touches
Once the shelf is securely mounted, you can add any final touches. Arrange decorative items, such as candles, plants, or stylish containers, to enhance the shelf’s appearance and functionality. Make sure the items are well-balanced and complement the overall bathroom decor.


